How do red and yellow penalty-area options differ?
Compare red and yellow penalty-area options, last-crossing reference points and the conditions that change the procedure.
Last updated
Scope: Fictional teaching scenarios for individual stroke play under the 2023 Rules. Relevant rule text and written clarifications were rechecked on 17 October 2026, with the supplement dated 2 October 2026 screened for relevance to this example. Local Rules and the actual facts still need checking; this is not an adjudication of your round.
Scenario and assumptions
An original example: a player’s ball crosses a painted edge and is seen coming to rest in a penalty area during individual stroke play. The player identifies the last-crossing point and checks the colour. There is no no-play-zone requirement or additional Local Rule in this simplified comparison.
Short answer for this scenario
Under Rule 17.1d, red and yellow both allow stroke-and-distance or back-on-the-line relief, each for one penalty stroke. Red also offers lateral relief using the estimated last-crossing point and a two-club-length relief area, no nearer the hole and subject to the Rule’s area limits. Yellow does not automatically offer that lateral option.
Rule 17.1b may allow playing the ball as it lies without taking penalty relief, except where a no-play-zone requirement applies. Safety and access should be considered separately from whether a Rule allows a stroke.
Compare the same entry point
| Question in the example | Yellow | Red |
|---|---|---|
| Can stroke-and-distance be considered? | Yes | Yes |
| Can back-on-the-line be considered? | Yes | Yes |
| Is ordinary lateral relief available under 17.1d(3)? | No | Yes |
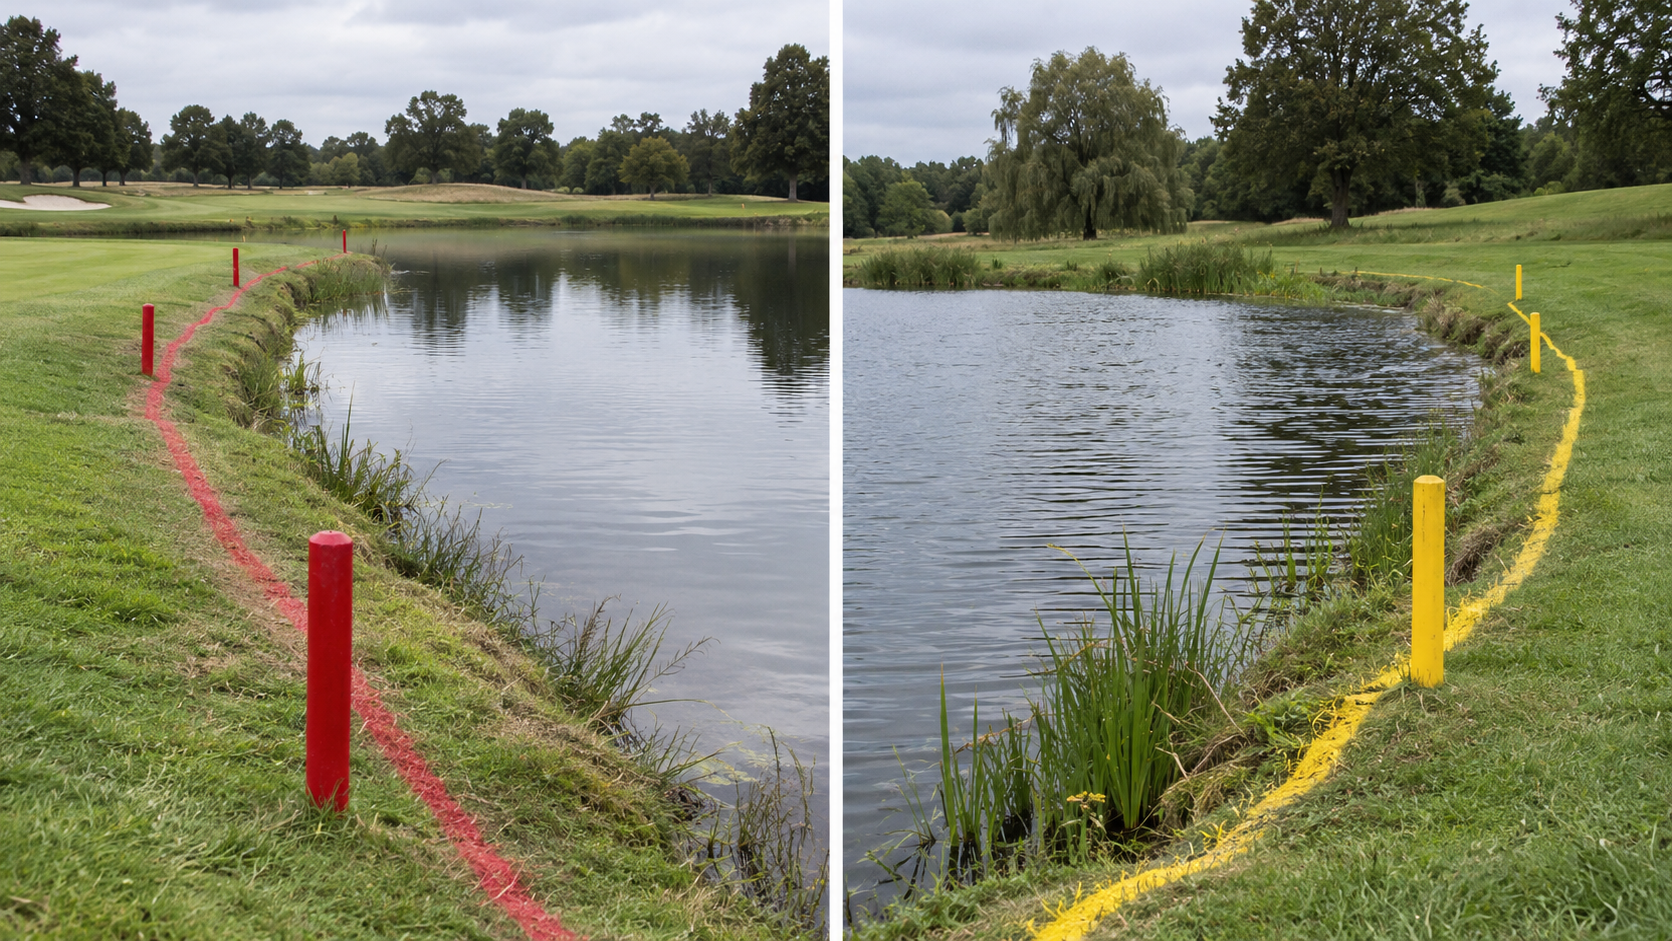
AI-generated fictional teaching scene; not an actual photograph or playing record. Two separate fictional pond scenes: red markings on the left and yellow on the right. This does not show relief options.
The table is about available categories. It does not draw a relief area. In the current back-on-the-line procedure the ball is dropped on the line; the landing point establishes a relief area with specific limits. Use the linked official Rule for the full construction and dropping requirements.
For back-on-the-line relief, keep the last-crossing point between the hole and the spot where the ball first touches the ground on the line. Dropping beside the line is not corrected by the ball rolling onto it: Clarification 14.3b(4)/1 treats that as a wrong-place issue if played. Establish the line and permitted area before dropping.
Do not confuse crossing with final position
Imagine a ball crossing a red edge, striking a bank and crossing again. The facts about the last crossing matter. A convenient nearest patch of grass is not a replacement for the required reference point. Record what was observed rather than choosing a point because it provides a clear shot.
If the ball has not been found, Rule 17.1c requires known or virtually certain evidence for penalty-area relief. “It probably went toward the water” may not establish that condition. Compare lost ball vs out of bounds.
Conditions to check before choosing an option
- Exact edge, colour, last crossing and whether the ball is known to be in the area.
- No-play zones, dropping zones and any adopted special Local Rule.
- Full 2023 back-on-the-line procedure, relief-area limits and applicable clarifications.
- Distinction between an option allowed by the Rules and a safe action at that location.
Use the rules starting point for the wider map and the public Local Rules guide before a real round.
Sources and scope
Relevant rules and clarifications rechecked 17 October 2026. Initial research: 15 October 2026. Initially published following user confirmation on 16 October 2026; maintained on 17 October at the user’s request; independent professional rules review is not claimed. The examples do not establish a particular course’s Local Rules.